So ~ I decided to write a post with some screen shots :-)
You can use Photoshop to make collages, but I like photoshop better for editing and creating watermarks. I prefer to use photobucket or picnik to make collages. Personally, I prefer photobucket because it allows you to save photos and collages and gives you code to upload them to your site (thus not wasting any precious space in your blogger limit of photos), so I will show you how to use photobucket to make the collages (using picnik is similar).
First, you need a photobucket account. Then, you need to upload photos, they can be from your computer or a url, your phone or ipod, etc.
Once you have uploaded your photos, click save and continue to my album.
If you put your cursor over the photo, several options come up: Share Edit Delete Move as well as code.
You can select Edit here.
OR you can click on Tools in upper right:
You are going to want the Image Editor
Now you have the option of editing your photos or making a collage.
If you want to make a collage, choose that (otherwise you can add text, change image size, crop, etc.)
This is going to bring you to Fotoflexer.
Your collage screen will look like this:
Pick which template you want to use for the First Year of Homeschool Wrap-Up: What We Learned...post, I used the square template that allowed me to upload 9 photos. For the Ten Things We Will Do Differently Next Year post I used the 3 vertical template.
Once you pick your template, you click on the little Load Photo oval. It will take you back to Photobucket and all the photos you have uploaded.
Now, you just pick the photo you want in each spot.
You can toggle them left & right when they are in the spot by putting your cursor over them.
Don't forget this past:
You can make the background transparent or any color you choose and
play with how thick the lines are between photos.
When you are happy with this, click Customize :)
It will bring you to the photo editor screen:
If making a blog header, you can click resize and change it to whatever size you need (usually somewhere between 950-1000 pixels wide and 300-400 long depending on your template).
If you are just making a collage for a post, you don't need to resize here, you can do that in blogger when it is uploaded.
If you want to add text, choose Decorate from the little tabs.
Click Text or Glitter Text.
A little text box appears.
I usually go over to the control box and select "transparent" and my font.
I also like to position the text box over where I want the text.
You can move the text to be vertical, horizontal, at an angle, etc.
When you are done, select Save a Copy at the bottom.
This will bring you back to Photobucket, where your image is saved.
If you want to post your collage in a blog post or use it as your header,
you will want to copy the DirectLink code and paste that in to blogger.
You will be using the Get a Photo from a URL option ;-)
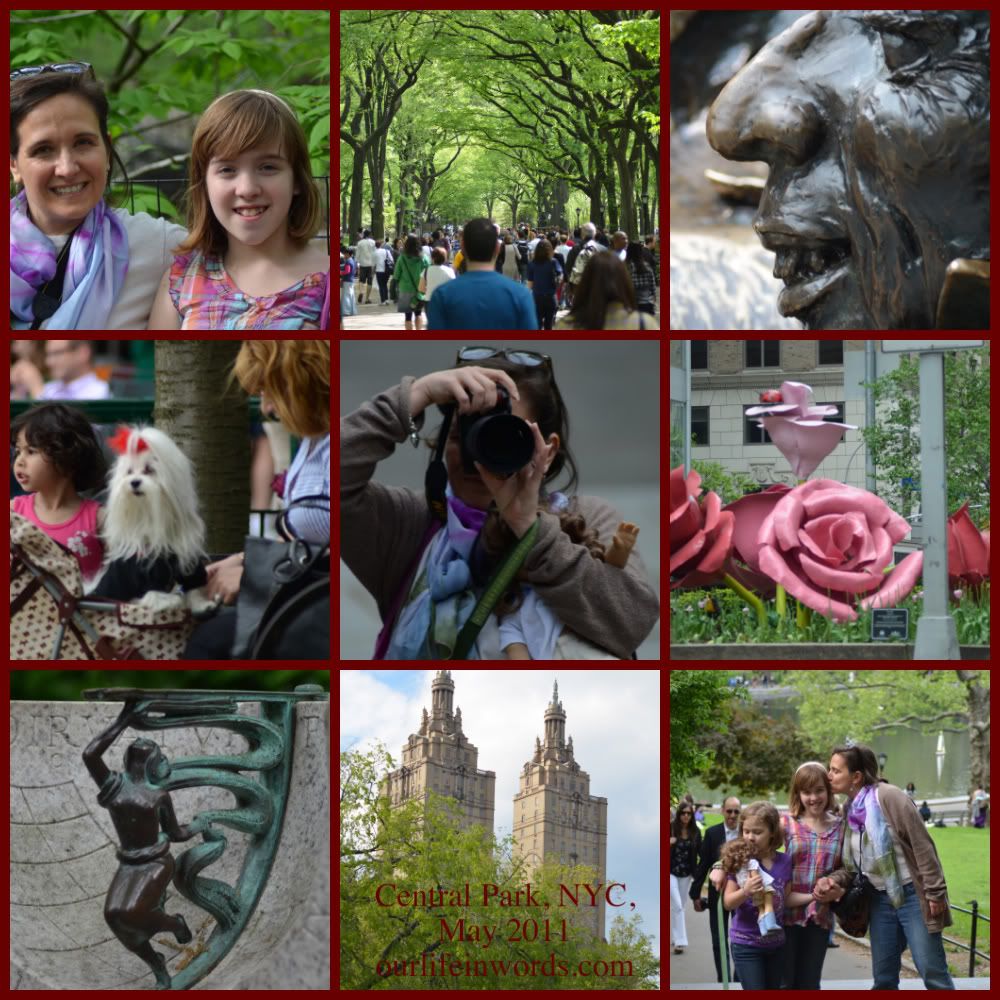
You will end up with something like this.
Easy Breezy.
You can select which size you want it in your post based on what size you normally post photos at :-)


